My Journey through ECMP 355 has been an exciting but challenging one. I was introduced to and tried many new programs such has Twitter, Blackboard collaborate, WordPress, Google Community, Smore, Kahoot and Pensieve. I stepped outside of my comfort zone and joined Twitter and created a blog to share and reflect on my thoughts. Despite the challenges, my journey through ECMP 355 has also been very rewarding. I have gained an understanding on the importance for both myself and my students to develop a positive online identity. And I am now more comfortable in knowing how to do so. I have also expanded my toolbox of technology resources in which I can use in my classroom. Finally, I have grown as pre-service teacher by learning meaningful ways I can incorporate technology into the classroom.
Please watch the following summary of learning Jennifer and I created to illustrate the road we have traveled over the last thirteen weeks to expand our knowledge about technology and its place in the classroom.
Over the last thirteen weeks, I have been learning to quilt mostly from online sources. A few times I did seek support/advice from the employees at Fabricland, a classmate, and a family friend. But this was only when I had a question about something I had found online. When I first heard that we were being asked to spend 50-100 hours learning a new skill from online sources and then sharing our progress online, I was a little skeptical in how successful I would be with this project. I thought that learning a skill from online sources was not going to meet my learning style. I know that personally I am a visual and auditory learner. I feel that I learn best when I am told how to do something or shown how to do something. As well, I like to be given a finished product and then figure out how to recreate that product.
Before taking ECMP 355, I associated learning from online sources as learning information rather than skills. I thought skills were best learned in face-to-face situations were you could observe demonstrations of the skills, practice the skills, and then receive immediate feedback. I think my views on how skills are best learned are influenced by my previous experiences. However, after learning to quilt using online sources, I now realize that there is so much information online that you can learn any skill. Due to the mass amount of information available, there are so many different methods and perspectives available that you are bound to find one that will work for you. If one method or resource does not make sense, then you can supplement your understanding with another resource.
Before this semester, I associated online sources with reading long, professionally written texts where I would have to pull the information out that I needed. However, I now realize that online resources can be divided into two different groups. The first group of resources is websites. I found the most beneficial websites in supporting my learning journey were personal websites like blogs. With these types of websites, the information was straight forward and easy to understand. Especially if the information was presented in point form and well organized using pages, categories, and subheadings, it was easy to follow and comprehend and, in turn, had a more successful outcome. The websites that also included pictures were helpful because seeing a visual of what they were writing about helped clarify their words.
The second and my favorite type of resources are videos. I found videos the best way to learn online because often, the person giving the directions was actually doing the steps. I found that through the videos, I got more detailed instructions rather than just the highlights of what you are suppose to do. Furthermore, pictures are great but with a video I was able to see how to successfully get to each step. Finally, I liked that with videos I am able to perform the task along with the video.
Below is a chronological list of the things I have learned along my quilting journey. When visiting each blog post, you will see my favorite and most useful resources that supported each step of my learning and why I liked each resource or found it useful. To see my full quilting journey and all of the resources that got me to a finished product please check out my blog under the My Major Project (ECMP 355) tab.
The finishing touches that I need to put on my quilt is to put the binding on the edges. The binding is like the cap that goes around the edge so that you don’t see all the layers sandwiched together. I decided to go with one color for the binding because I thought that if I used lots of colors together, it would take the attention away from the main part of the quilt. I am going to use the same pink fabric I used for the backing for the binding. I think this will give it a clean finished look as I am hoping it will look like I carried the backing over the edges. One way to make your binding strips is to piece together a bunch of scraps or pre-cut strips. However, I was lucky in the fact that I had lots of leftover fabric from the backing and I was able to cut out strips that were long enough so I did not have to sew the strips together.
To learn how to do the binding I watched two different videos. Each video showed a different method to attach the binding. The first video goes over stitching the binding on with a machine and the second goes over stitching the binding on by hand
The video Finishing Your Quilt- Binding (seen below) was very helpful with knowing how to prep all the materials I was going to need. I found it very helpful that she walked through how to calculate how much fabric I was going to need for the binding. I was able to follow her calculations and plug in my own numbers. As well, I found this video good for learning how to press the binding strips, trim the excess batting, and fold the corners. However, I did not feel this video provided me with enough direction on how to hold the binding once you folded it over to the front. I think it is important to know how to hold the binding because holding it properly would allow me to sew it and still have a clean seam. I knew getting a clean seam would be a challenge with it being a long seam.
The following video shows how to hand stich the binding on the front but does not show how to prep anything or machine stich the binding to the back. Alone neither of these videos have enough information for me to successfully put the binding on my quilt. But by watching both videos I was able to pair the methods and information from both together to find something that will work for me. I am going to machine stitch the binding on the back and then hand stitch the binding on the front. I like that in the hand stitching video she showed a few different stitches I could do. I would not have known what stitch to do but because she offered her personal opinion as to what one is best, I am going to go ahead and follow her lead.
ECMP 355 and anyone else following my blog I would like to present to you my finished quilt!!!
Now that my quilt top is officially complete with the addition of a border, it is time to quilt all the layers together. A finished quilt consists of three layers: the quilt top, batting, and the backing. For my backing I chose a pink fabric that is consistent with the flower theme of many of the prints I used in the quilt top. As well, I will be using cotton batting because it is a thin batting so it is less bulky and easier to use for machine quilting. Cotton batting feels like thick flannel so it will be warm and it creates a very soft and comfortable quilt. It is also very durable and washes well. This was an important fact for me when choosing a batting because I am so proud of my quilt top so I did not want something that was going to break down and then in a few years I would no longer be able to use my quilt any more.
The fabric I will be using for the backing.
All three layers put together.
I was very overwhelmed with how I was going to successfully accomplish this step. Fortunately I have a great family friend that helped me a little bit as well as allowed me to use her sewing machine because mine was too small for this part. The first thing I had to do was basting. Basting means that you are attaching the three layers together. The first video I watched showed how to baste the layers together using the spray basting method. I thought the video made this look pretty easy as it was portrayed in the video that if there was a bubble or a wrinkle, you could just lift the quilt top up and smooth it out again. The video did not illustrate any problems or downfalls with this method so I thought this would be perfect for me because it looked like there was limited amount of room for error.
I watched a few more videos to learn how to successfully baste the layers together. One video I really liked showed two different methods of basting: spray basting and pin basting. Again this video shows spray basting to be quick and easy as you just have to spray the spray on and then smooth out the fabric overtop. Pin basting also looked effective but very time consuming. So I still thought that spray basting was the method I wanted to go with. However after talking to my family friend she shared with me that she thought these videos did not do a very good job of portraying what would happen with spray basting after you tried to pick up the quilt to take it to the sewing machine. Apparently it is common for the layers to fall apart while quilting when you use spray basting. I was very miss led by the videos. So I decided to go with pin basting. The following video gives a good explanation of how to perform the pin basting. But the demonstration is hard to see and, in turn, is not very helpful. I think the explanation is straight forward enough that I should still be able to do it.
Pin Basting
Once I was done basting it was time to do the quilting. Quilting is the stitch that holds all three layers together. There are many different styles of stitches that you can use to finish your quilt. I found the following video very helpful in making an educated decision in what stitch to use. Each stitch was described as to what the visual appeal of it was. As well as how difficult it would be to execute the stitch. That way I was able to find a good balance between something that would look nice but still not be to difficult to do. I have decided to go with the loopy stitch because I think it looks fun and will not take any attention away from the print of the fabrics. As well I was attracted to the loopy stitch because of the fact that you don’t have to keep the pattern perfect or the same all the way through the quilt.
The type of stitch I will be using.
I actually found this to be the most fun part of my quilting journey. My family friend put her darning foot on her sewing machine and I went to town freelance sewing the loopy pattern all over my quilt. I followed the instructions of the above video by starting in the middle and working my way out to the edge and then around the outside.
I have been mulling over the idea of adding a border for a couple of days just to make sure that I really want to add a boarder to my quilt. In the end, I defiantly think it is the right thing to do. So here goes nothing.
I have discovered that having the internet right at your fingertips with endless information can be both a positive thing and a negative thing. It’s positive because you can find the answer for any question or how to do pretty much anything. However, the amount of information can sometimes be overwhelming. And, of course, with the amount of information you are bound to run across some conflicting views. This was especially true when trying to figure out how to put the border on my quilt. I found eight different methods I could use to tackle the border, and I am sure there is many more out there.
I have narrowed it down to what I think are the two best methods demonstrated in the videos below:
Quilting for Absolute Beginners – Adding boarders correctly
How to Make a Quilt Boarder – Cutting and Measuring- National Quilter’s Circle
I have chosen to go with the method in the first video because the quilt used in the video was not square so it is proven to work on a non-square quilt. Therefore, I feel like I will have more success with this method. As well I found this video very helpful because it went through the whole process off adding a border: measuring the border, cutting the boarder, pinning the border, attaching the border, sewing the border and ironing the border. Some of the other methods I found only covered bits and pieces of the process so then I would of had to fill in the blanks, which could be problematic. As well, I liked learning this process from a video because I feel like you get more information when the person giving you the information is actually doing it while they are giving you the instructions. That way, they tend to articulate everything they are doing and thinking rather then just then highlights of what you need to do.
So now it was my turn….
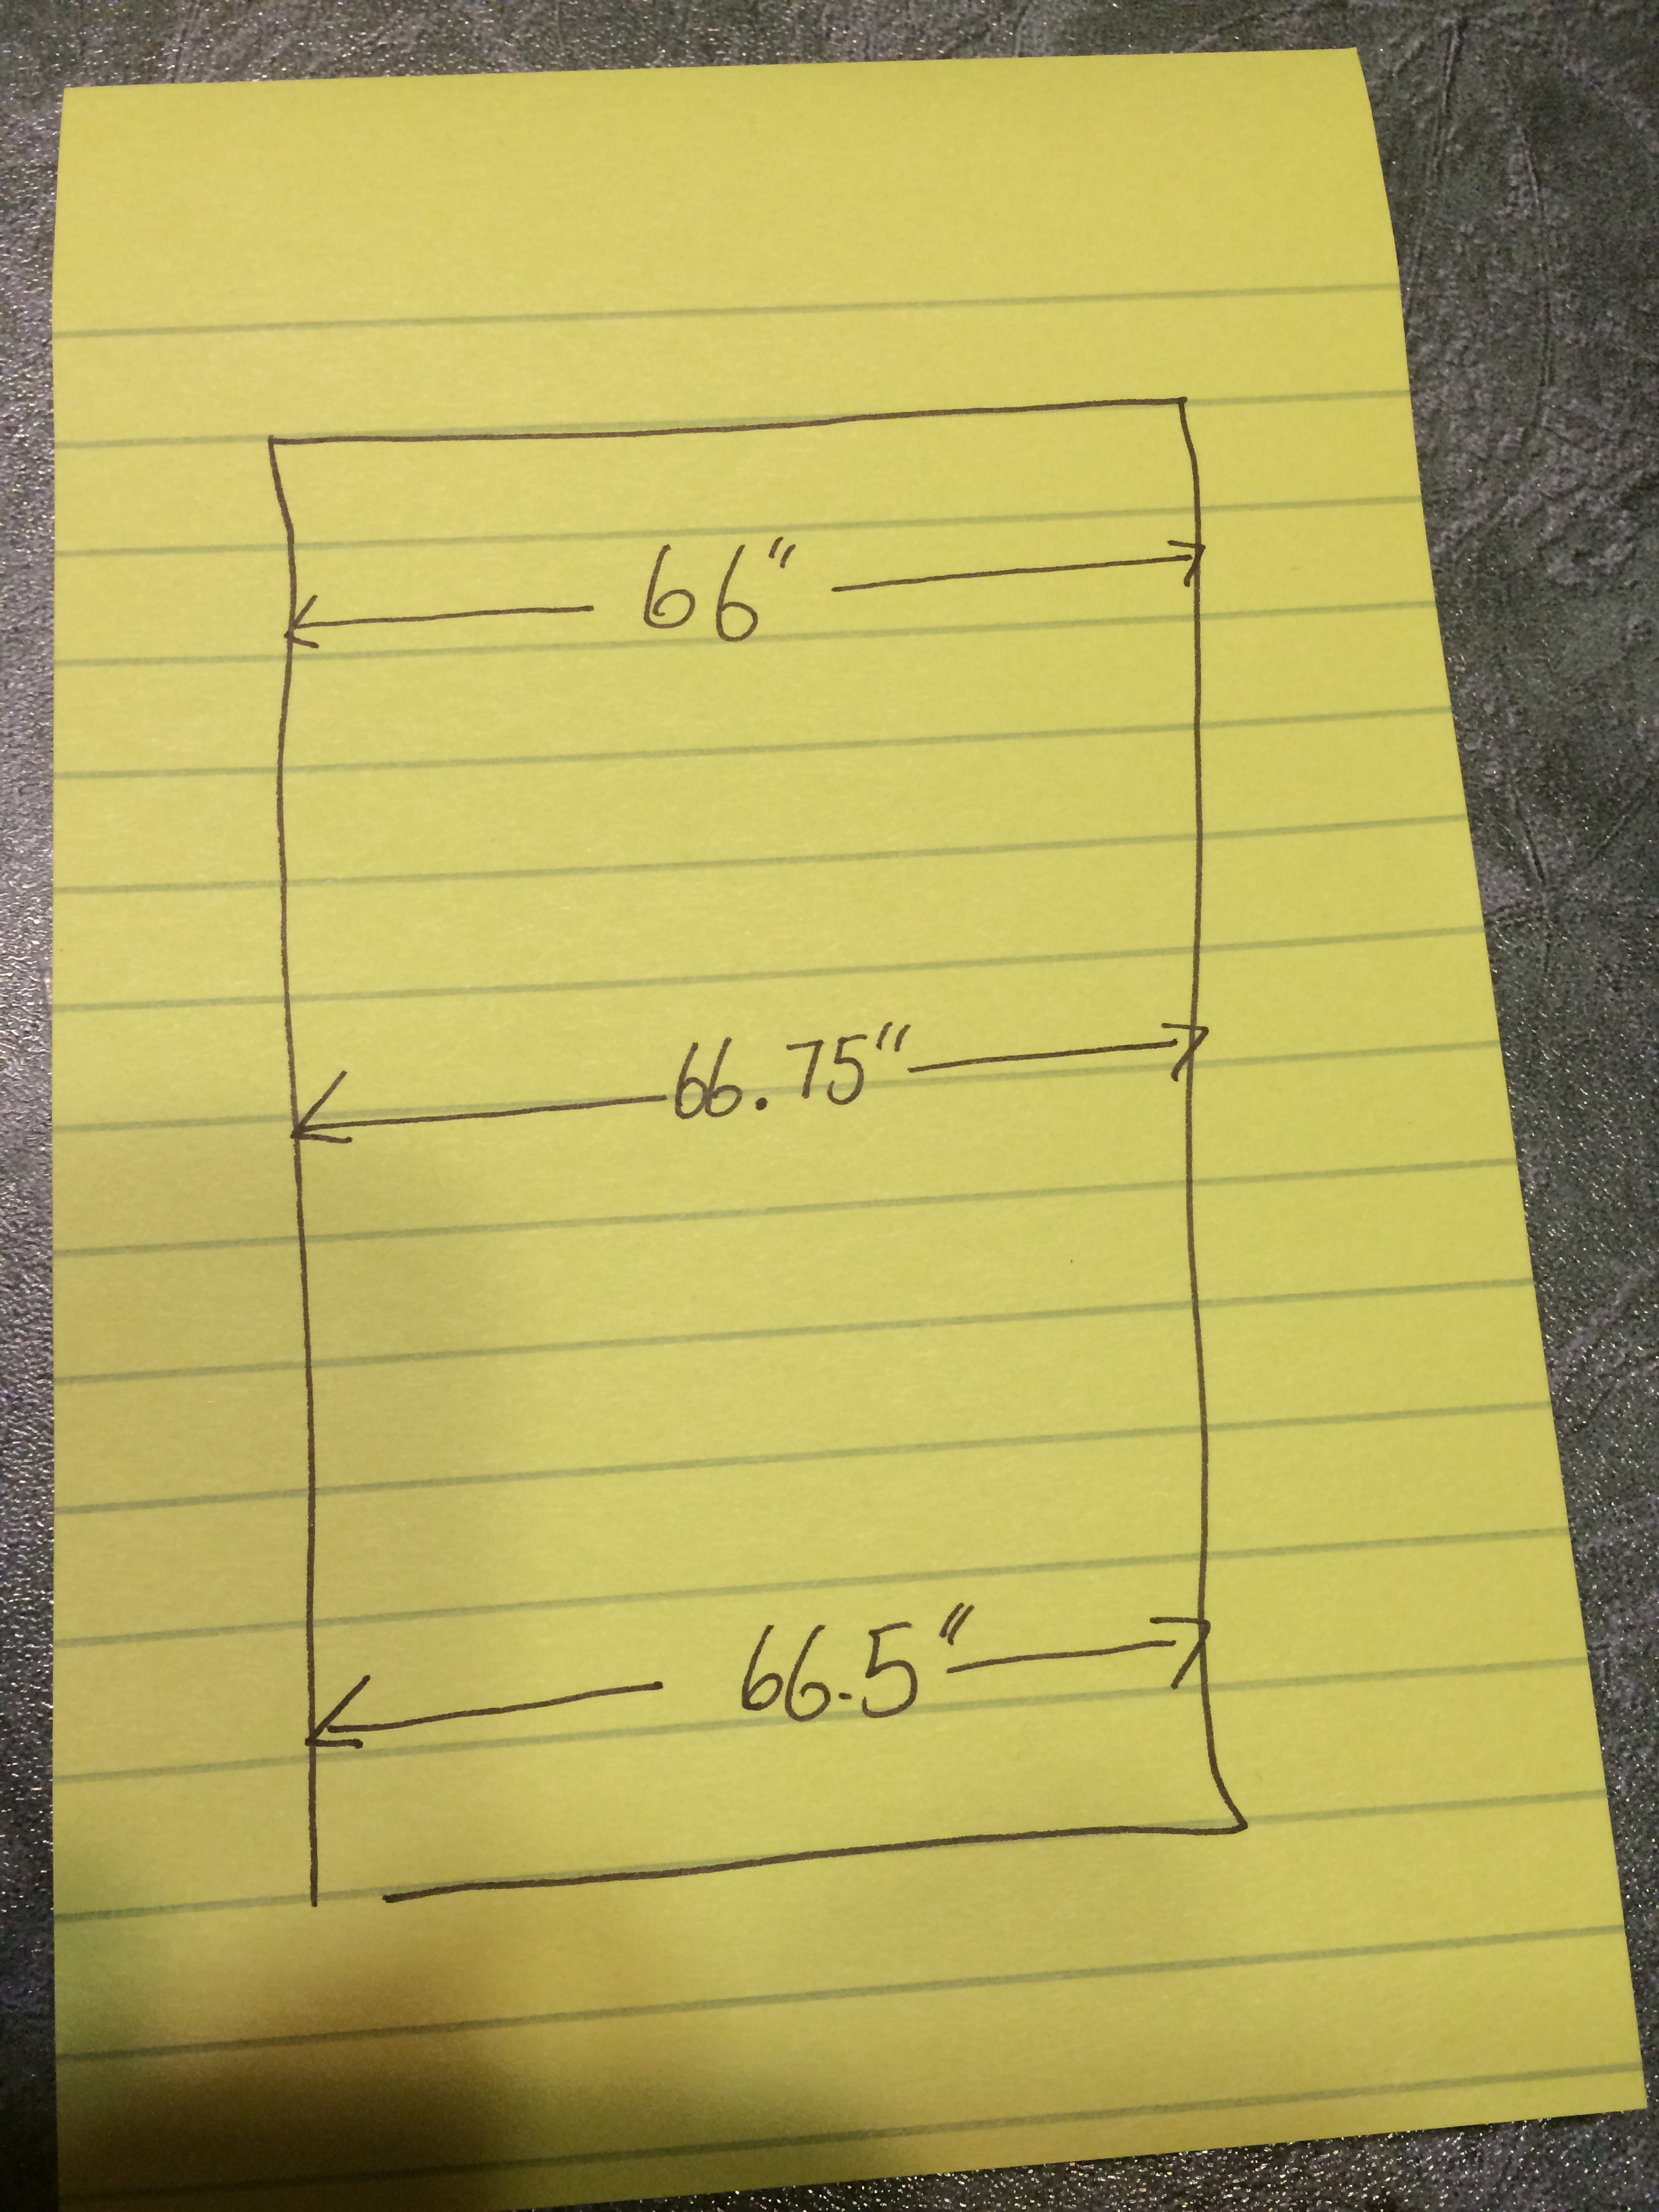
Like in the video, the first thing I did was measure the top, middle, and bottom of my quilt. My measurements came out not as wonky as I thought they would. The top is 66 inches, the middle is 66.75inches, and the bottom is 66.5 inches. So the middle measurement is 66.5 inches, so that is the measurement I will be using to make my boarder strips. I ended up cutting my boarder strips a little longer just in case. It was a good thing I did because as I found out the video did not explain that you had to re-measure after every strip to take into account for the added length the border was adding.
My Measurements.
Here you can see the extra length that the border on the other side added.
The fabric I chose to use for the boarder was on sale so I bought enough of it so that I would not have the join the strips (always looking for ways to eliminate places of error). Once I had all my board strips cut, I placed a pin in the half and quarter mark of the boarder and the quilt. This is how you ensure that the edge gets lines up correctly. Then, one at a time, I laid the strips with right side together on the edge of the quilt and lined up the raw edges. Between each pined mark, I would then pin every four inches. I used my previous resource on how to position the pins. If the border did not perfectly line up with the quilt between each mark you were able to stretch it a little bit to make it fit and lay flat. Finally, I took it over to the sawing machine. It was a very slow process to sew on the border because I was constantly stopping to take out a pin but I guess that is an okay price to pay to make sure I got the boarder on straight. The one bonus to having to do all this pinning was I got to use the fancy pin cushion made in grade 9 home arts to good use! The final step in adding the border was to press the seams. You would think after all the pressing of seams I have already done throughout this project I would know how to effectively press by now. However, this video shows a more effective method that produces crisper seams. This just proves that we are life-long leaners and can always improve our skills.
Placing the border and the quilt right side together.
Lining up the raw edges.
Pinning all the way along the border to ensure that it is straight.
I made sure the border was flat as I pinned it on.
Because I cut the borders a little long I had to trim the extra length.
I am so happy with how the borders turned out. I think it finished the quilt top really nicely and makes it look like a whole piece of art rather then just a blanket.
This week in ECMP 355, we were presented with two blog prompts to think about: “How is edtech related to social justice?” and “What can we do to make the Internet a more equitable place?” Both these ideas were new to me as I have never really been exposed to them or been required to think about them. After some reflection, I started to wonder why I have never been introduced to the idea of there being a connection between edtech and social justice. Over the last four years of my education degree, we have talked about social justice in a number of different capacities, however, never in regards to edtech. This started to concern me because edtech and technology in the classroom is growing in popularity. As pre-service teachers, we are entering into the education field at a time when it is almost expected that we are going to use technology in the classroom. Therefore, I think it is vitally important that we are made aware of the connection between social justice and edtech. More importantly, we need to understand how we can take steps to make the Internet a more equitable place for all our students.
When I first heard we were going to be talking about how edtech is related to social justice, my first question was, “are the relations between edtech and social justice positive or negative?” I think social media allows people to share social justice issues quickly and to a mass amount of people. Again, this can be both positive and negative because it can be a way to bring attention to otherwise silenced issues but it can also bring attention to negatively portrayed issues because even if you don’t agree with it you are still viewing it on social media, which still brings attention to it. I thought that social media was a place for all groups to speak out, so I was amazed to hear that some social media spaces have practices in place to silence voices. Therefore, I think the representations of social issues we see on social media are not always accurate.
I am still asking myself how to make the Internet a more equitable place for all, particularly my students. I think this demonstrates the importance of teaching students how to be digitally literate. I want my students to be critical thinkers in terms of what they see online. As well, I want my students to use social media to break down barriers rather than further the gap.
If you have been following my journey of becoming a quilter, you would have seen my excitement when I thought I was done my quilt top. Well surprise, surprise I am not done. According to my pattern, I am finished. However, I have decided I want to add a border. My first stop in trying to figure out how to go about adding a boarder was Generations quilt patterns. I have used this website as a reference many times throughout my project and I really like it because it explains the steps in easy to understand terms and point form so it makes sense. I find the point form easy to follow as it breaks down each step for you and gives you just the information you need to get the job done and not a lot of extra information. I was a little scared to find out that adding a border to your already unsquare quilt (which mine is) could make the quilt look even more unsquare. But I have done my best to get my quilt square and it is as close to square as it is ever going to be. So, because there is nothing I can do about it so I have decided to go ahead and add the border anyways. The reason I have decided to add the boarder is because I felt that the quilt needed a little something to make it look a little more finished.
Quilt without a border. Don’t you agree it needs a border?
Adding more size to your quilt. This really had no effect in my reason to add a border. It does not really matter to me what size my quilt ends up beings because I plan to just use it as a couch throw so it’s not like it needs to be the size of a bed.
Framing your quilt. This will help direct your eye where to look, which is the effect I was looking for. When there was no border, I found that my eye did not know where to look because of all the shapes, colors and patterns. As a result, the quilt was a little loud and in your face.
Enhance color scheme. The color chosen for the border can draw out colors used in the main part of the quilt that many not be noticed otherwise.
All these advantages sounded really great! Once I saw a picture of a finished quilt with and without a border I knew I had to add a border. The pictures helped to cement that I made the right choice to add a border even if it was going to draw more attention to the fact that my quilt might not be square. I really liked getting to see the illustration as to what a quilt will look like with a boarder versus not having a boarder because it helped me make a more educated decision. When learning something online and not having someone to bounce ideas off of, I find it really helpful to have illustrations depicting different ideas.
I like how the black boarder on the quilt “The Misty Morn” (pictures above) defines where the quilt ends, draws your eye to the snowflake and shadows of the trees and contrasts the lighter elements in the quilt. I think for my boarder I will go with a darker color as well. A majority of the colors in my quilt are light so I am hoping that if I use a dark border, it will have the same effect and make the rest of my quilt pop.
The fabric I will use for the boarder on my quilt.
I am starting to realize that quilting is a very long, time consuming, and tedious process. Sewaholic explains quilting as: “you make a block, and then a bunch more, and then you sew them all together to make the quilt top”. Sounds simple right? That’s what I thought too but, let me tell you, it is a LOT harder then it sounds. All the little steps that go into making each block or sewing all the blocks together make each process a lot more work than I could have ever expected.
Finally!!! I never thought this day would come, but I am on to the step where I get to sew all the rows together to make one big quilt top. If you have read my blog 1 Square at a time you probably have a good idea of the process I am going to have to use to sew the rows together. The process is very similar to when I made each row, the only difference is that I will be working with more fabric and sewing longer seams.
Sewing longer seams brings its own set of challenges. With the seam being longer, there is more time for your seam allowance to get off. I was really worried about this because, as we all know, I am not an expert sewer. Quilty has a large online collection of online instructional videos. Episode 318 is entitled How to sew Long Seams. This video offered a lot of helpful tips and tricks:
Take your time and stop often to check the underside.
Don’t hold your fabric too tight. You want to just guide the fabric and let the machine do the rest of the work.
Set the seam before you press it.
Change what side is on top because then if one seam is a little off it will correct itself with the next seam being the other way.
After sewing my first and second row together, I noticed that a few of my blocks were not lining up. I thought this was just another side effect of the blocks not being square. I was kind of disappointed because I had worked so hard to pin the seams together of each block but it still managed to shift while sewing. However, the blog Craftsy did not let me down again and offered a solution to prevent this from happening again. The suggestion was that I sew each seam together and then sew the whole seam together. Most of the rest of the roles are pretty accurate.
The blocks that do not line up in the first two rows.
When, I finally finished sewing all the rows together I discovered that my quilt was a little unsquare. It is suggested that if it is under ¼” off then it is okay. I measured corner to corner to see how much off mine was. Unfortunately, mine was of by just over an inch so I had to try and square it off. I did not have a square big enough so I folded the quilt into quarters so that it was small enough to use my square to square off the four sides. The closest I could get it was about 3/8” off so its not quit ¼” off but as close as I could get it so I am just going to run with that.
Please check out the My Quilting Journey Haiku Deck I made to illustrate the process of sewing the quilt top together. This is the first time I have made a Haiku Deck so it was some new technology to play around with.
I had a blast working with Tessa Vibe, Breanne Hack, and Jennifer Clace to create our resource package for ECMP 355. We chose to focus our resource package on Pensieve because some of our group members had heard about Pensieve during internship and shared it with the rest of us. None of us had ever heard of Pensieve before internship or had used it or seen it implemented in the classroom. So we were curious what all the excitement was about. As well, I was excited to explore Pensieve more because during internship, I had the opportunity to experience guided reading with some elements of Daily 5. During our guided reading time, I would meet with two groups of students each day. While reading with the student, I would try to collect anecdotal records. However, I was never able to establish a good system for data collection. My method included having a book and dedicating a page for each student. However, that did not always seem like the best method. Some days I would just write my anecdotal records on sticky notes and then try to get them into my book after. On other days, I would write one sheet for all the students in the group and then sort through the notes on each student. On the days I was really organized, I would have my book there at the table with me so that I could write on each student’s page. In the end I was not overly fond of any of these methods and was still seeking a better method.
I think using Pensieve could be a better method for me. Pensieve is a program created by the two sisters to help teachers take better organized anecdotal records. Pensieve was originally designed for Daily 5 as the goals for comprehension, accuracy, fluency, and efficiency are already pre-loaded into the program for the teacher to choose from. However, a teacher could enter their own goals to customize it for any subject.
So what exactly is Pensieve you ask? The main features of Pensieve are that, as the teacher, you can enter each student in your class and their reading level. You then have a space for each student to set what goal they are going to be working on, the instructions you will give, record anecdotal rerecords, decide what the next step should be, and whether the student has met this goal. As well, you can group the students and then record the information based on the group. We created a smore with more information on Pensieve and screen casts on how to add your students and create groups. I would recommend any teacher curious about Pensieve or wanting to use it in there classroom to watch these videos. You will discover just how easy Pensieve is. Please check out our Pensieve smore!!
Enter your class on Pensieve
Space to manage each students information.
Another great thing about Pensieve is that is has bunch of really cool extra features. Our favorite feature is the ‘share’ feature. So if another teacher has Pensieve, you can send a student’s information to them. This would be really helpful if a student is moving part way though the year or at the end of the year. That way the new teacher has an idea of where to start. The video bellow will give a more detailed explanation of all the extra features. This video can also be found on our smore.
The final section of our smore and resource package is a collection of our favorite apps that can be integrated into the different areas of Daily 5.
I was so excited to sew all my blocks together into strips. I got through the first four rows with no problems and then my progress came to an abrupt halt. When I went to sew the blocks together in the fifth row, I took the stack of material over to my sewing machine. I thought the stack looked funny: it looked a lot smaller then the last four. So when I counted the stack I was devastated to discover that I only had 5 blocks! Where is the sixth block?? It was officially missing in actions.
Missing a block.
This was something I was worried about when I first started cutting out my blocks because I knew I was going to have a lot of small loose pieces. My organizational system was to stack the strips for each block and then stack the blocks for each row. However, this strategy did not work very well for me because I still lost pieces. The fact that my work area was a mess could have also played a role in the fact that I lost a piece.
What a mess!
A strategy that I should have implemented that would have been really helpful is if I would of kept all the pieces in little plastic bags. I gathered this information from a blog called Quick Stitch: Keeping Quilt Blocks. I really liked this blog post because it did not just tell me what to do. Rather, it outlines organizational problems that the author was facing and then explained what strategies she used to cover come these problems. I found it very helpful that she explained both the problem and the strategy to overcome the problem. That way, I was able to compare my struggle to hers and see if that solution would work for the problem I was facing. That way I did not have to waste my time trying things that may not be relevant to my problem. Rather then using little plastic bags, the following video shows how I could have used a bag that was originally designed for fishing to store all the pieces. I find that one of the great things about learning from online resources is that people have different ideas and perspectives. Therefore, you are going to get a wide variety of solutions for any problem and one of them is bound to work for you.
After looking and looking and looking, I mean I looked everywhere for that missing block but it was nowhere to be found. So I looked back at my blog post “Designing my Quilt” to figure out what color and patters should be in this block. That is one great thing about blogging about this project. It creates an organized space for date collection where I can store resources to refer back to latter when need be. I figured out that the outside strips in the block were suppose to be the pink diamond print and the inside strips are green and blue. Of course I did not have enough scrap of pink to cut the strips. So I made one more trip to Fabricland.
Geting fabric for hopefully the last time!!
By Monday afternoon I had the new fabric strips cut, sewn into a new block and continued on sewing the last two rows. Now of course just after I finished making the new block I found the missing block. I was looking for the TV remote and for some reason under the couch cushions seems to be a common hiding place for the remote at my house. I did not find the remote under the cushion but I did find the missing block. When I was ironing all the blocks I had the ironing board right behind the couch. So I am guessing that while I was ironing the block fell off the ironing board and somehow made its way under the cushion.
Found you!
So I know have finished sewing all six rows together. The next step will be to attach all the rows together to create the actual quilt top.