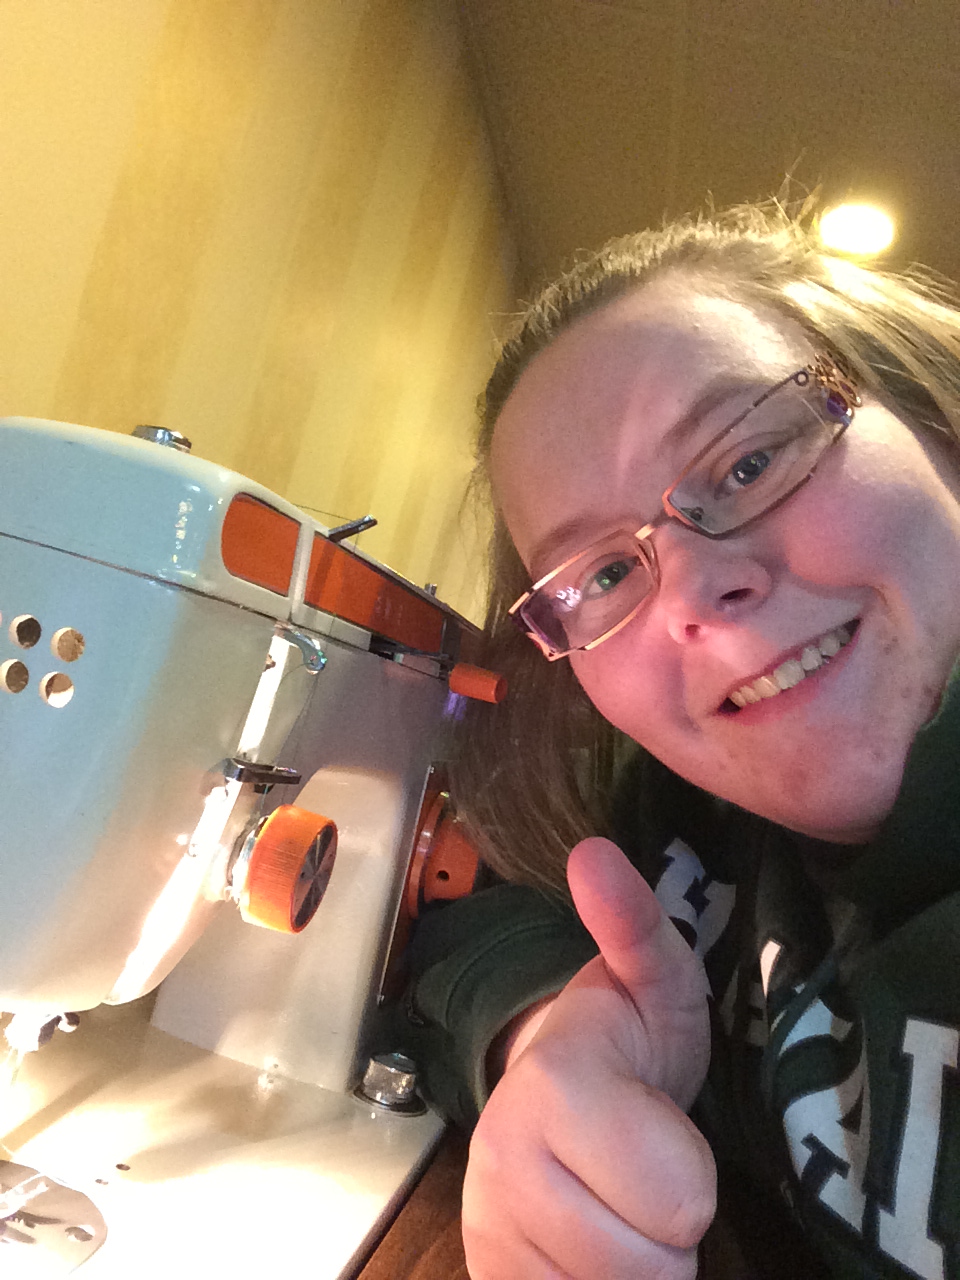
I know absolutely nothing about quilting except for the fact that I was going to need a sewing machine. I decided I should make sure I could find an affordable sewing machine before I went in farther in researching how to quilt. Used Regina did not let me down and I found a Brother 681B-UG sewing machine for pretty cheap. It is an older model but works great! The lady I bought it from had taken excellent care of it. I do know a little about sewing thanks to my grandma. And when I say “little” I mean very little: I know how to sew a straight line but have not done it in a long time. I have watched her thread the machine a few times but have never done it myself.

My new sewing machine!
When I got the sewing machine home, I was very excited to get it set up. I was lucky enough to find a PDF copy of the owners manual which was helpful to figure out what all the buttons, nobs, and switches do. The manual told me the first step in threading the machine was to wind the bobbin. The pictures in the owner’s manual were of such poor quality that I was unsure of where to put the tread to wind the bobbin. I tried many time thinking I had the thread in the right spot but every time I would step on the foot petal thread would go everywhere. I had thread wrapped around my finger, wrapped around the top of the machine, and in a larger tangled knot. So pretty much everywhere besides on the bobbin. I watched a tutorial video called “How To Thread a Borhter LX-3125 Home Sewing Machine” to help me with threading the bobbin. The video was made using a Brother LX-3125 machine witch is the same brand as mine but a different model. However, it was similar enough to mine that it was still helpful. The video helped me figure out that I was missing the step of putting the thread through the tension disk before the thread went to the bobbin. As well, the video offered a helpful hint as to how to keep the thread on the tension disk (wrap it around twice). So you would think that I could now wind the bobbin… wrong! Now when I tried to wind the bobbin it only went on the bottom of the bobbin. After watching another video called “How to Wind a Bobbin” I discovered this was happening because my thread was off balanced and I needed to use a pencil to help guide the thread onto the bobbin. Finally I had the bobbin successfully threaded!

Trying to figure out how to wind the bobbin.

Left over thread after many attempts of winding the bobbin
Jenaya – 1 Sewing Machine – 0
Next came threading the machine from the top with the large spool of thread. This was very easy and went quite quickly. I followed the directions in the above video. Once I figured out what order the thread went through the thread guides it was just a matter of getting the thread into the little slots and holes.
Jenaya – 2 Sewing Machine – 0
I was feeling pretty confident in my abilities in threading the sewing machine until it came the threading the bobbin…. That was an adventure! Again, I had to watch the video because I could not understand the owner’s manual. The video showed my what lever I needed to pull to get the bobbin case out but, of course, I accidentally pulled the wrong lever and had three pieces falling off my sewing machine! (That’s one way to get the bobbin case out!) I got bobbin into the bobbin case with no problem but getting all the pieces back onto the sewing machine was a different story. There was nothing in the owner’s manual or video to help with this because it is not suppose to happen. After playing around with if for a good hour I finally got all the pieces back on.

The bobbin case is finally back together.

The sewing machine is finally threaded
Jenaya – 3 Sewing Machine – 0
With the sewing machine threaded it was time to try and sew a line on a scrap piece of fabric to see if the machine was threaded right. Unfortunately, when I back stitch the thread bunches up underneath then fabric. I am not sure if this has something to do with how I threaded it or with one of the settings. I will have to do some more research to look into how to fix this.

The thread is bunching up when I back stitch.
Jenaya – 3 Sewing Machine – 1
